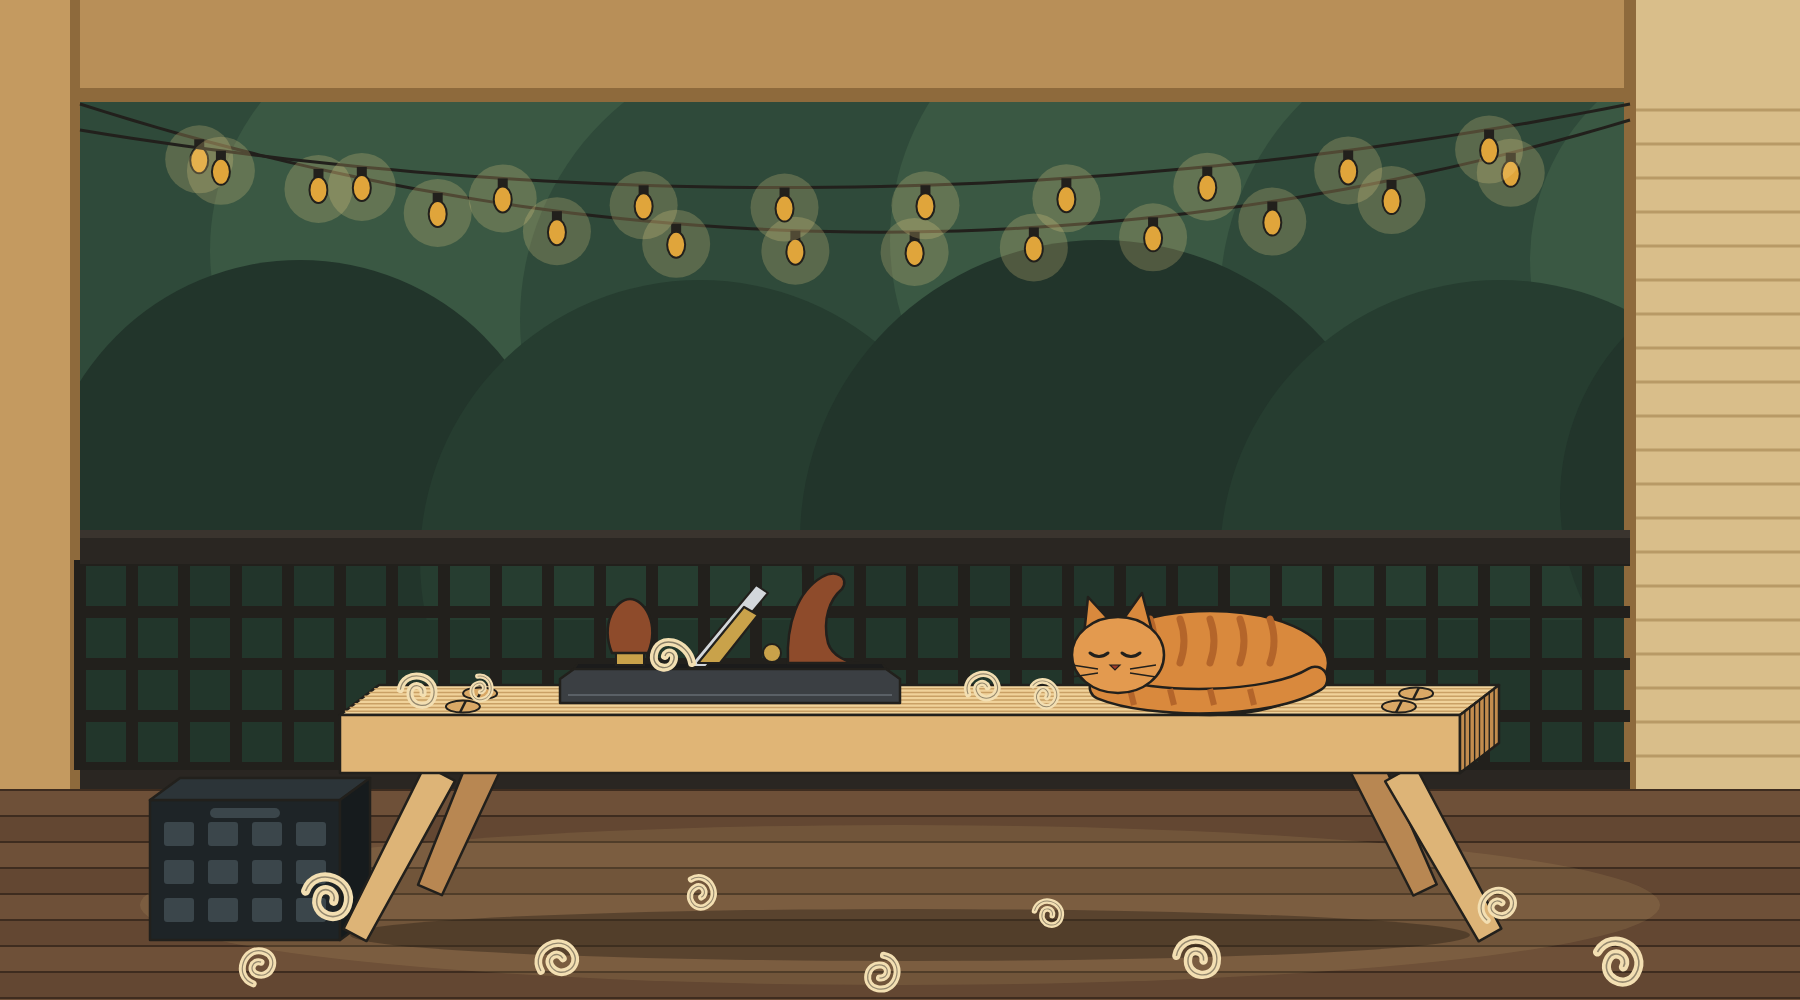
In 2022, after a rough breakup, I decided to become constructive instead of destructive.
I started watching woodworking videos on YouTube and found Rex Krueger. Rex made woodworking look accessible: a few hand tools, cheap lumber, no garage full of machines. He showed a low Roman workbench and talked about the book that gave him the idea, Ingenious Mechanicks by Christopher Schwarz.
So I bought the book and read it cover to cover. That’s how I found Lost Art Press, and boy, was that a rabbit hole.
This is the bench, one step and one photo at a time.
The Book
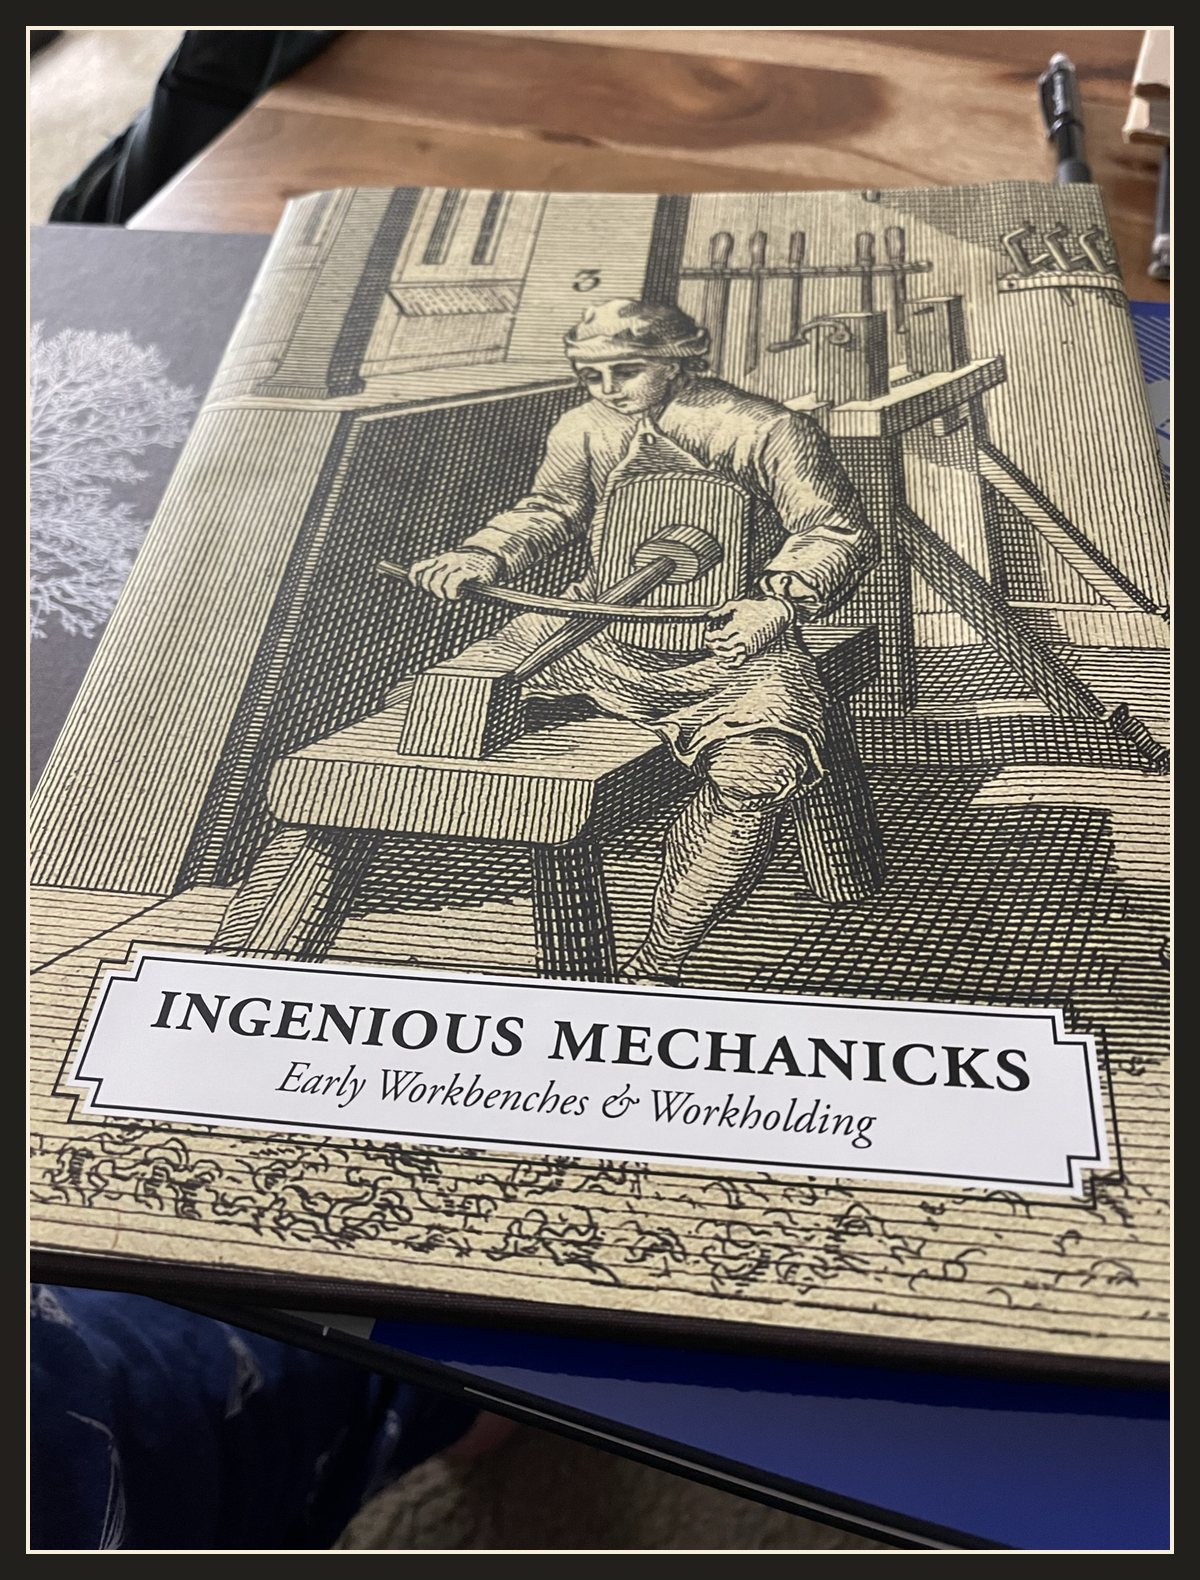
Ingenious Mechanicks is about the earliest workbenches we know of. Schwarz starts with the oldest picture of a Western workbench, from Pompeii, and goes all the way to a Roman fort in Germany to look at the oldest one still around.
The case for these early benches is simple: they cost less, take less wood, go together in a couple of days, and you can sit on them. For a guy in an apartment with no shop and no bench, that sold it.
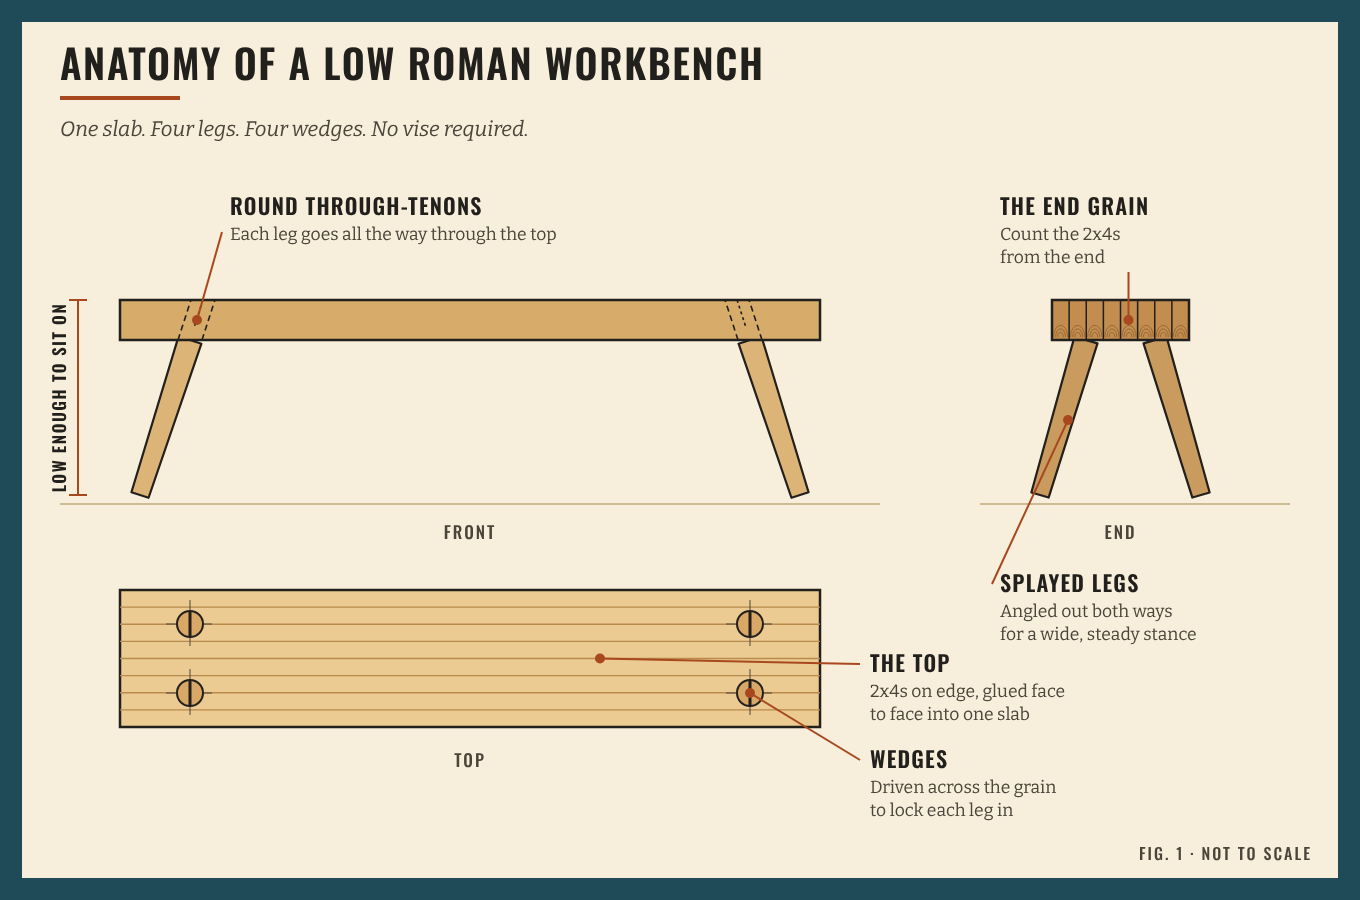
Here’s the whole thing on one sheet.
The Lumber
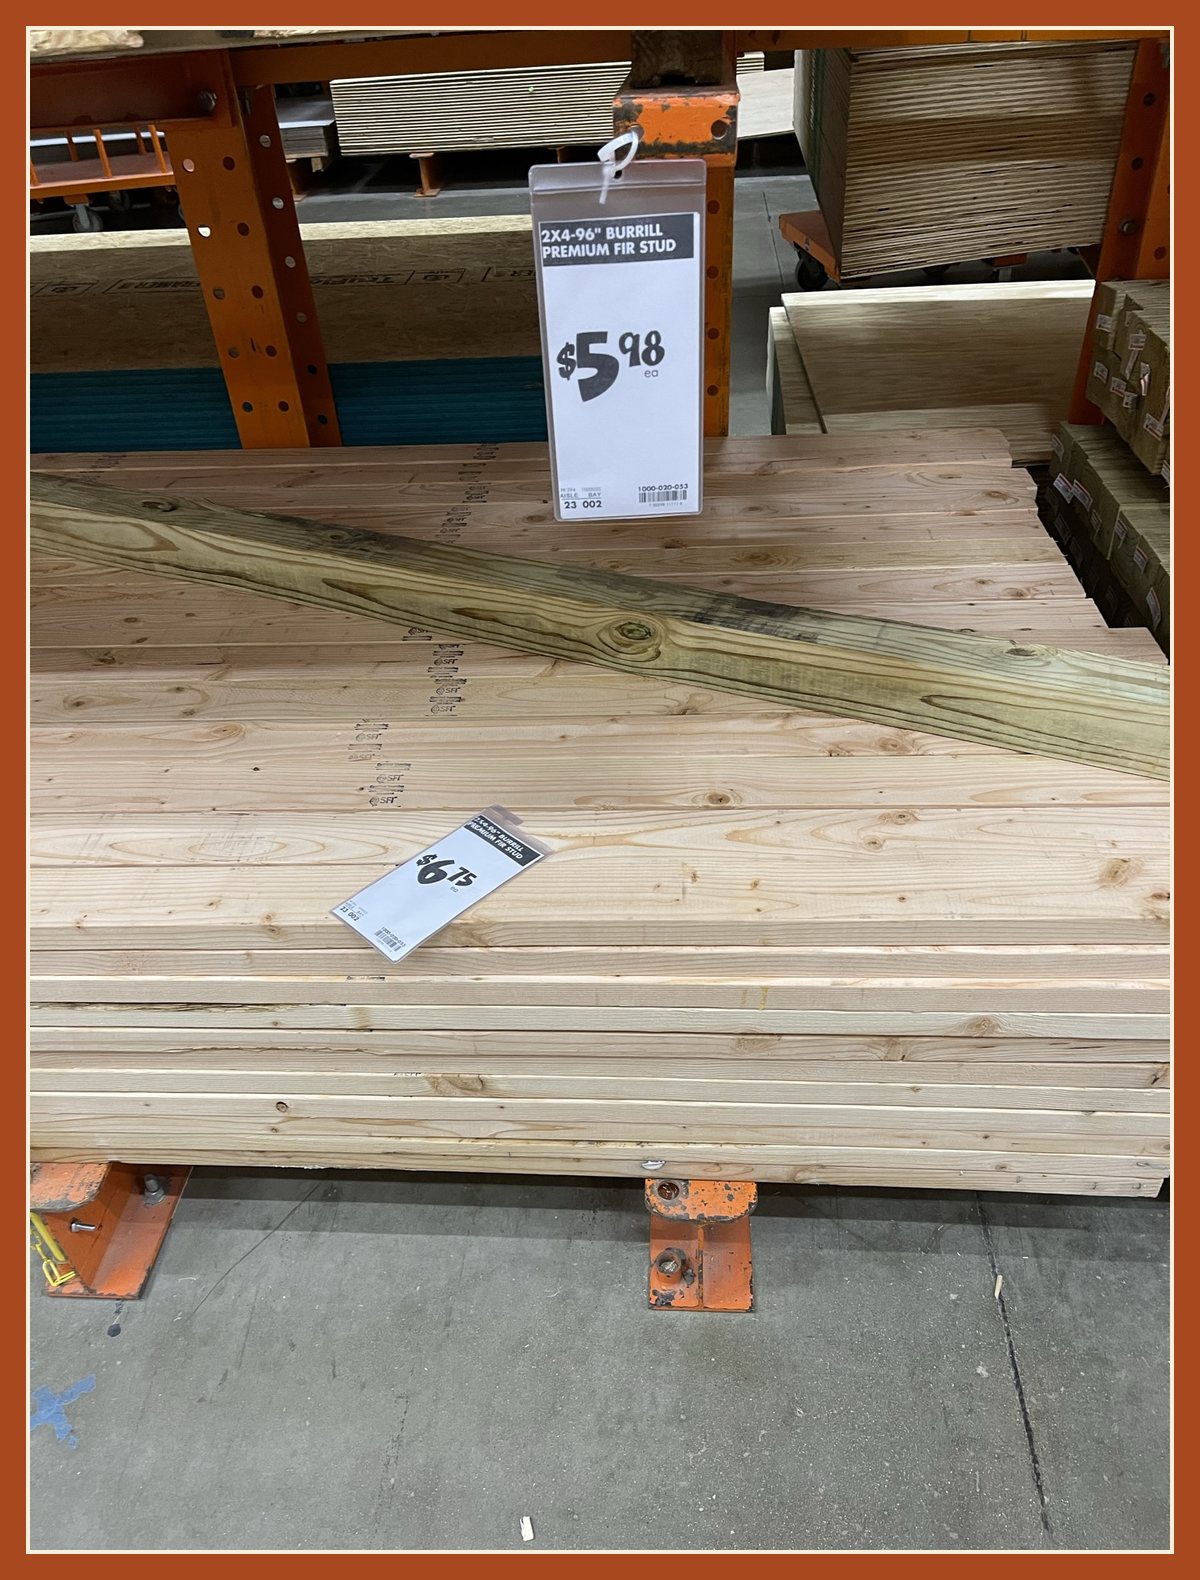
The whole bench is made from plain construction 2x4s, the same studs they frame houses with. The tag said 2×4-96″ Burrill Premium Fir Stud, $5.98 apiece.
I lived in an apartment at the time, so I had to make it work. I brought the lumber home in my Kia…
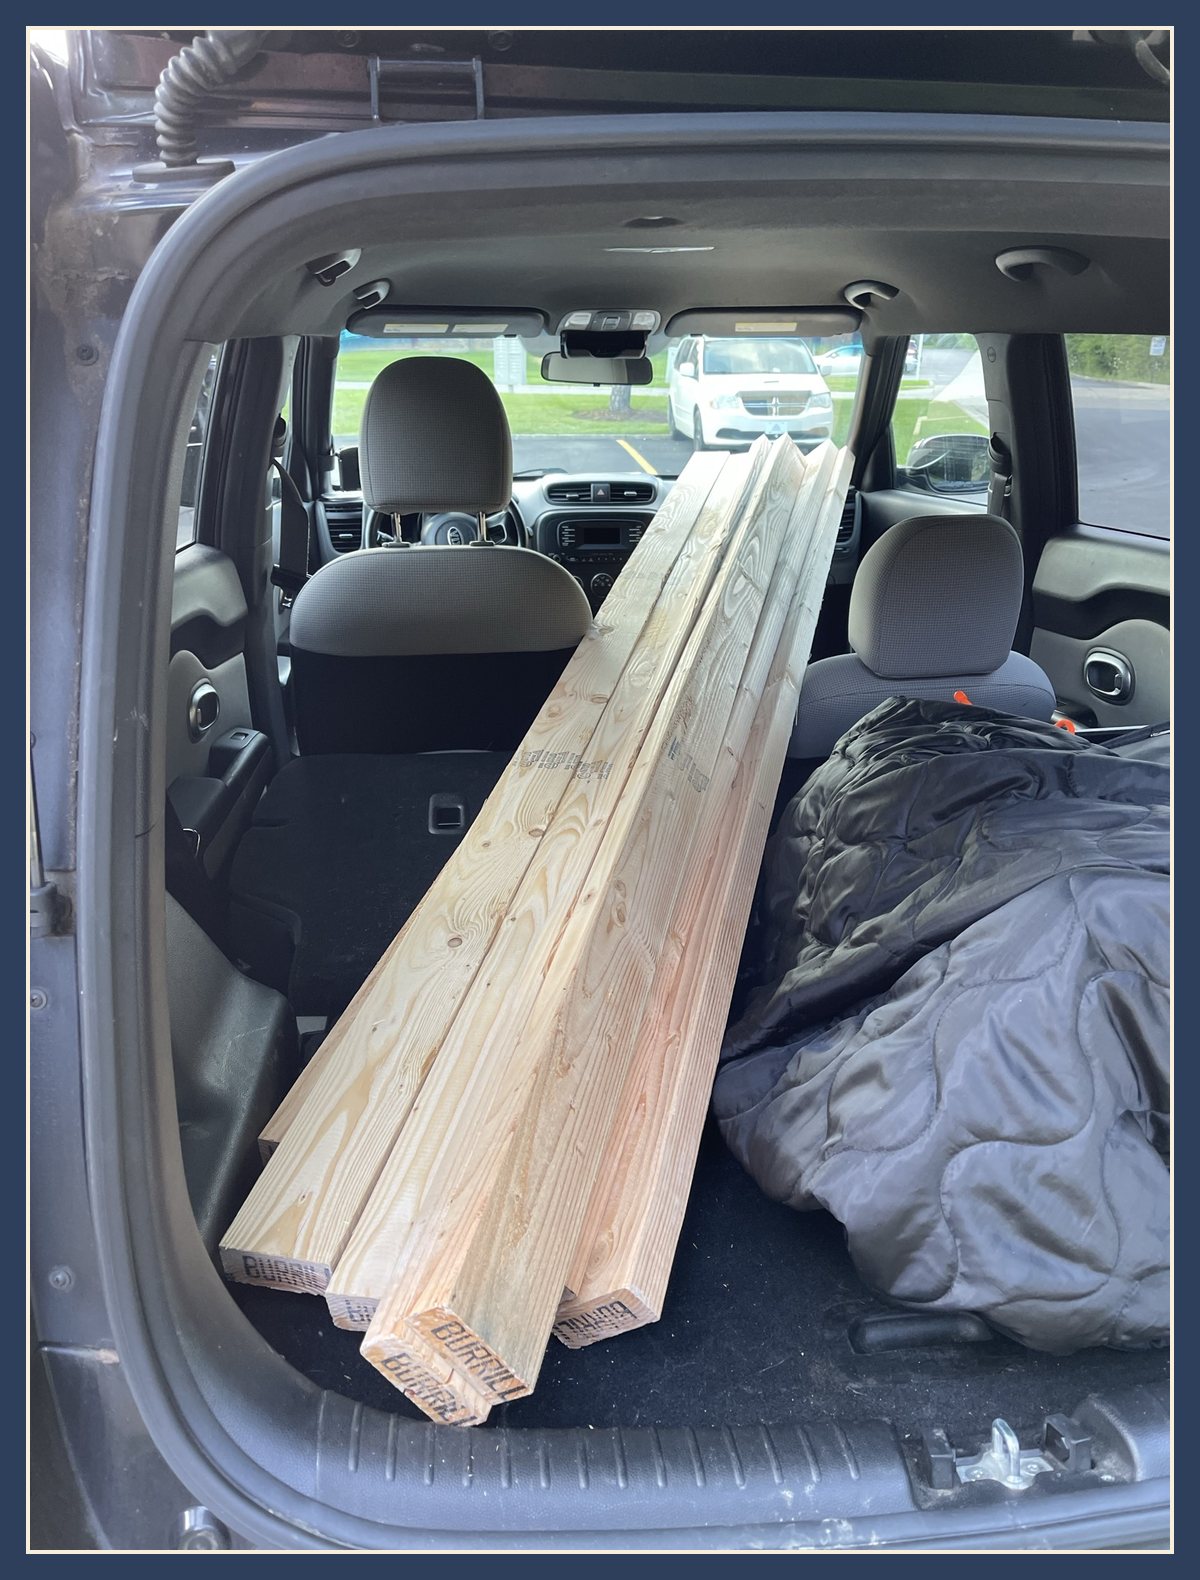
…and hauled it upstairs. Eight-foot boards and an apartment stairwell don’t get along, but we worked it out.

Laid out on the living room floor, that’s the whole top. It just doesn’t know it yet.

Two Planes
Then I got the gumption to buy some Lie-Nielsen planes: a No. 5 jack plane and a No. 4 in bronze. Those two did the whole project. Well, those two plus a Japanese pull saw and a drill. Okay, those two did all the planing.

Planing the Boards
Construction 2x4s aren’t made for furniture. So one by one, every board got planed by hand before it went anywhere near the glue. In the apartment. The shavings got everywhere.

The Glue-Up
I glued the top up in sections, then glued the sections together. The glue goes on in squiggles. There’s no art to it; you just want every inch covered.

Parchment paper from the kitchen went underneath so the slab didn’t become part of the table.
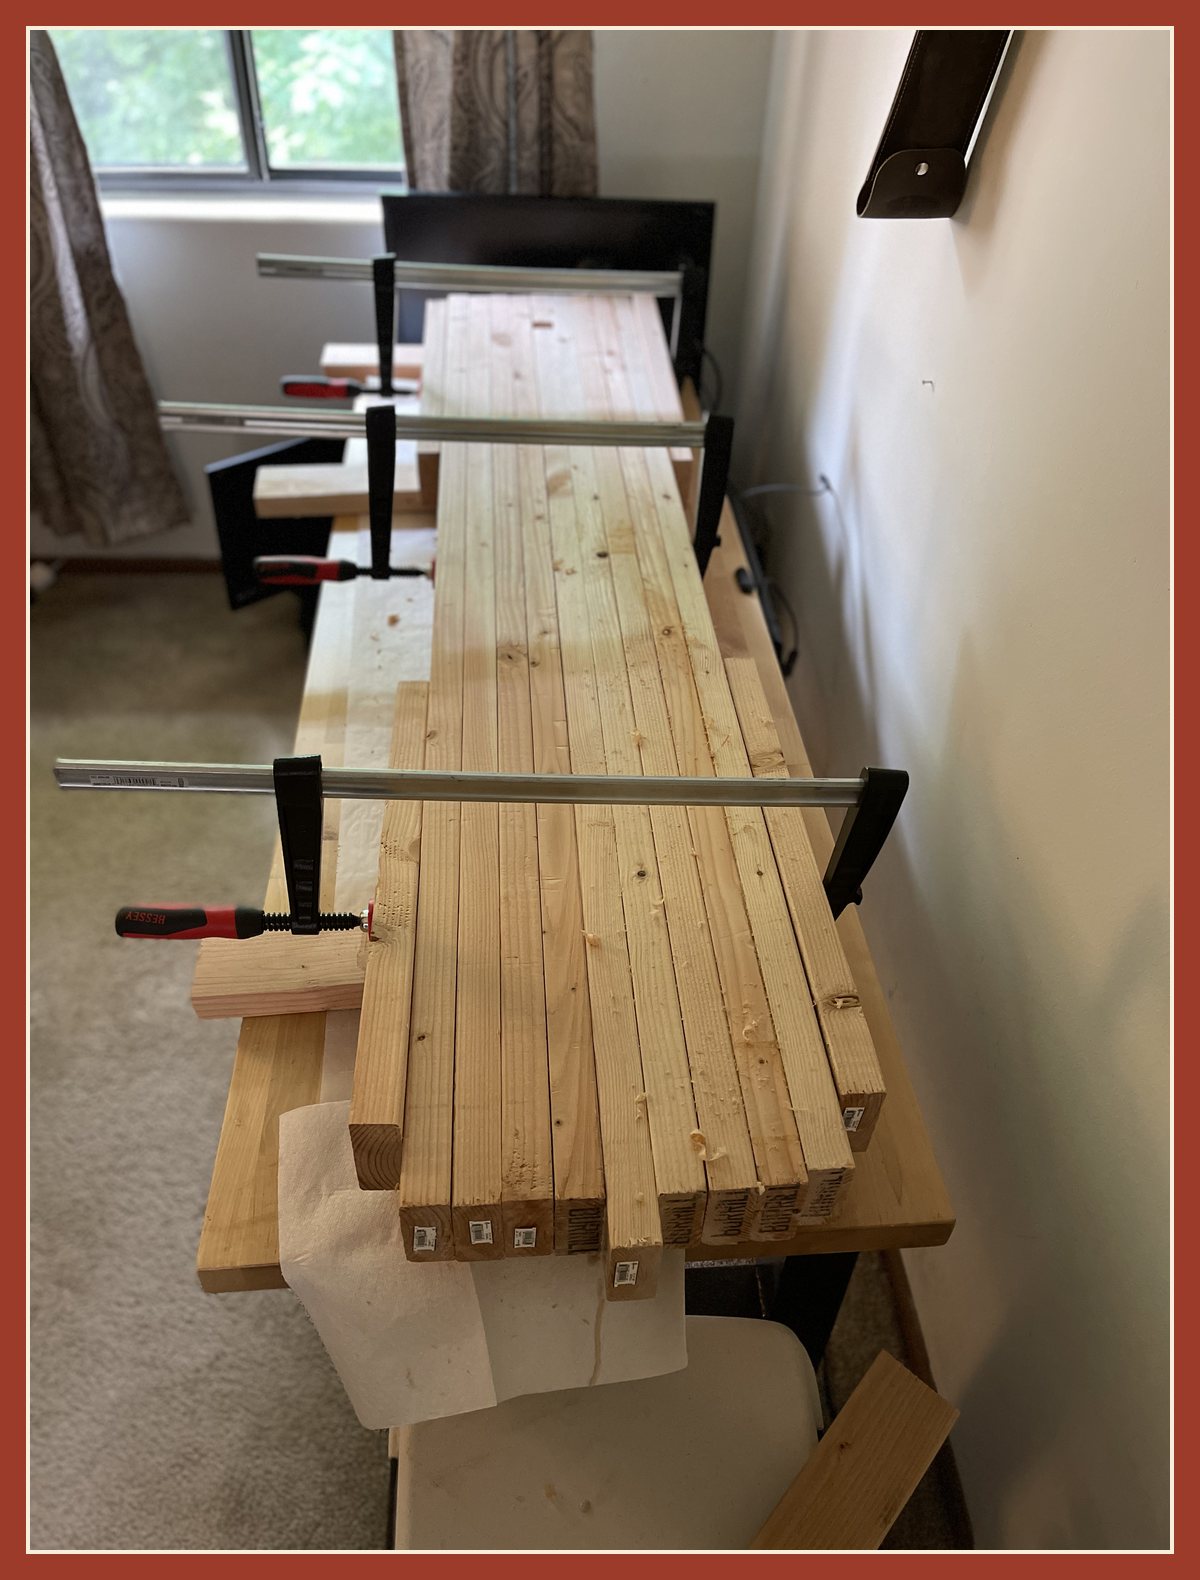
A Workbench With No Workbench
It’s hard to make a workbench when you don’t already have one. So I used milk crates. I still use them to this day for holding my milk. (Kidding.)
The slab moved out to the porch, up on two milk crates, and that’s where the rest of the build happened.

A glued-up slab isn’t flat. Every board sits a hair higher or lower than its neighbor. The No. 5 knocks the high spots down until the whole thing reads as one surface.
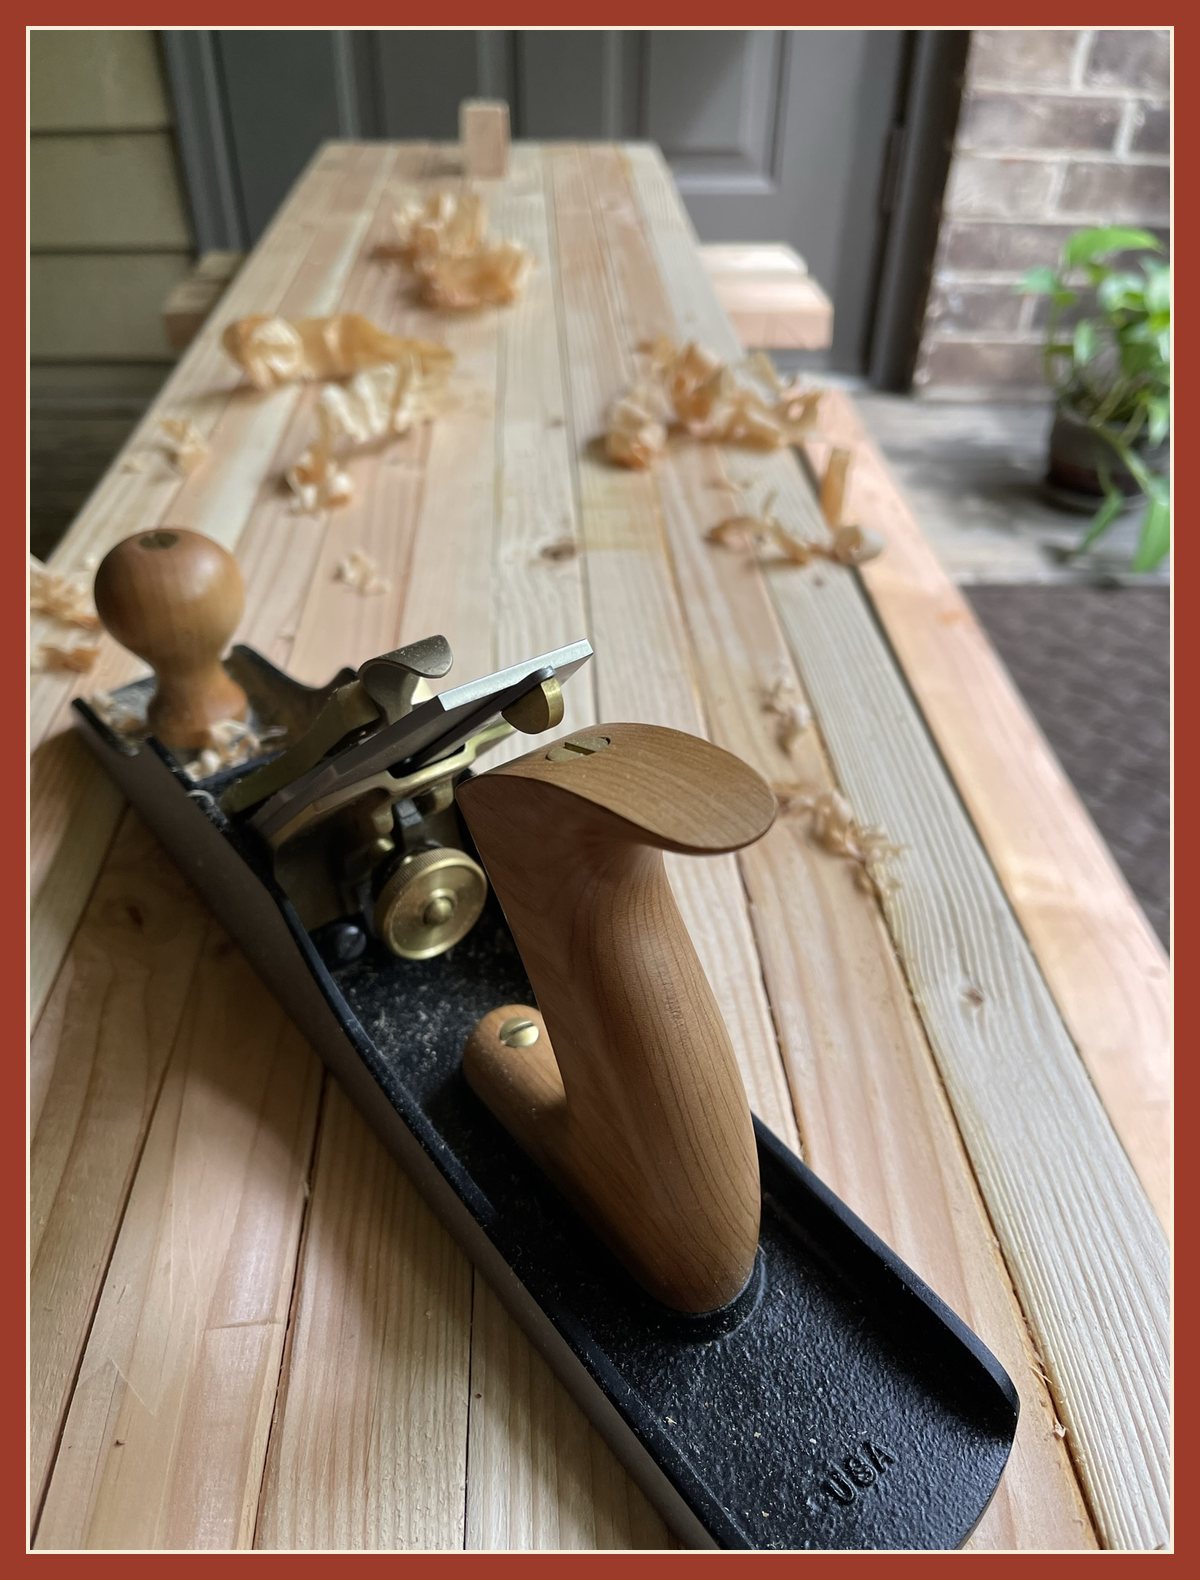
When the shavings start coming off long and curly like this, you’re getting close.

The Legs
The legs started as four blanks, cut with a Japanese pull saw.
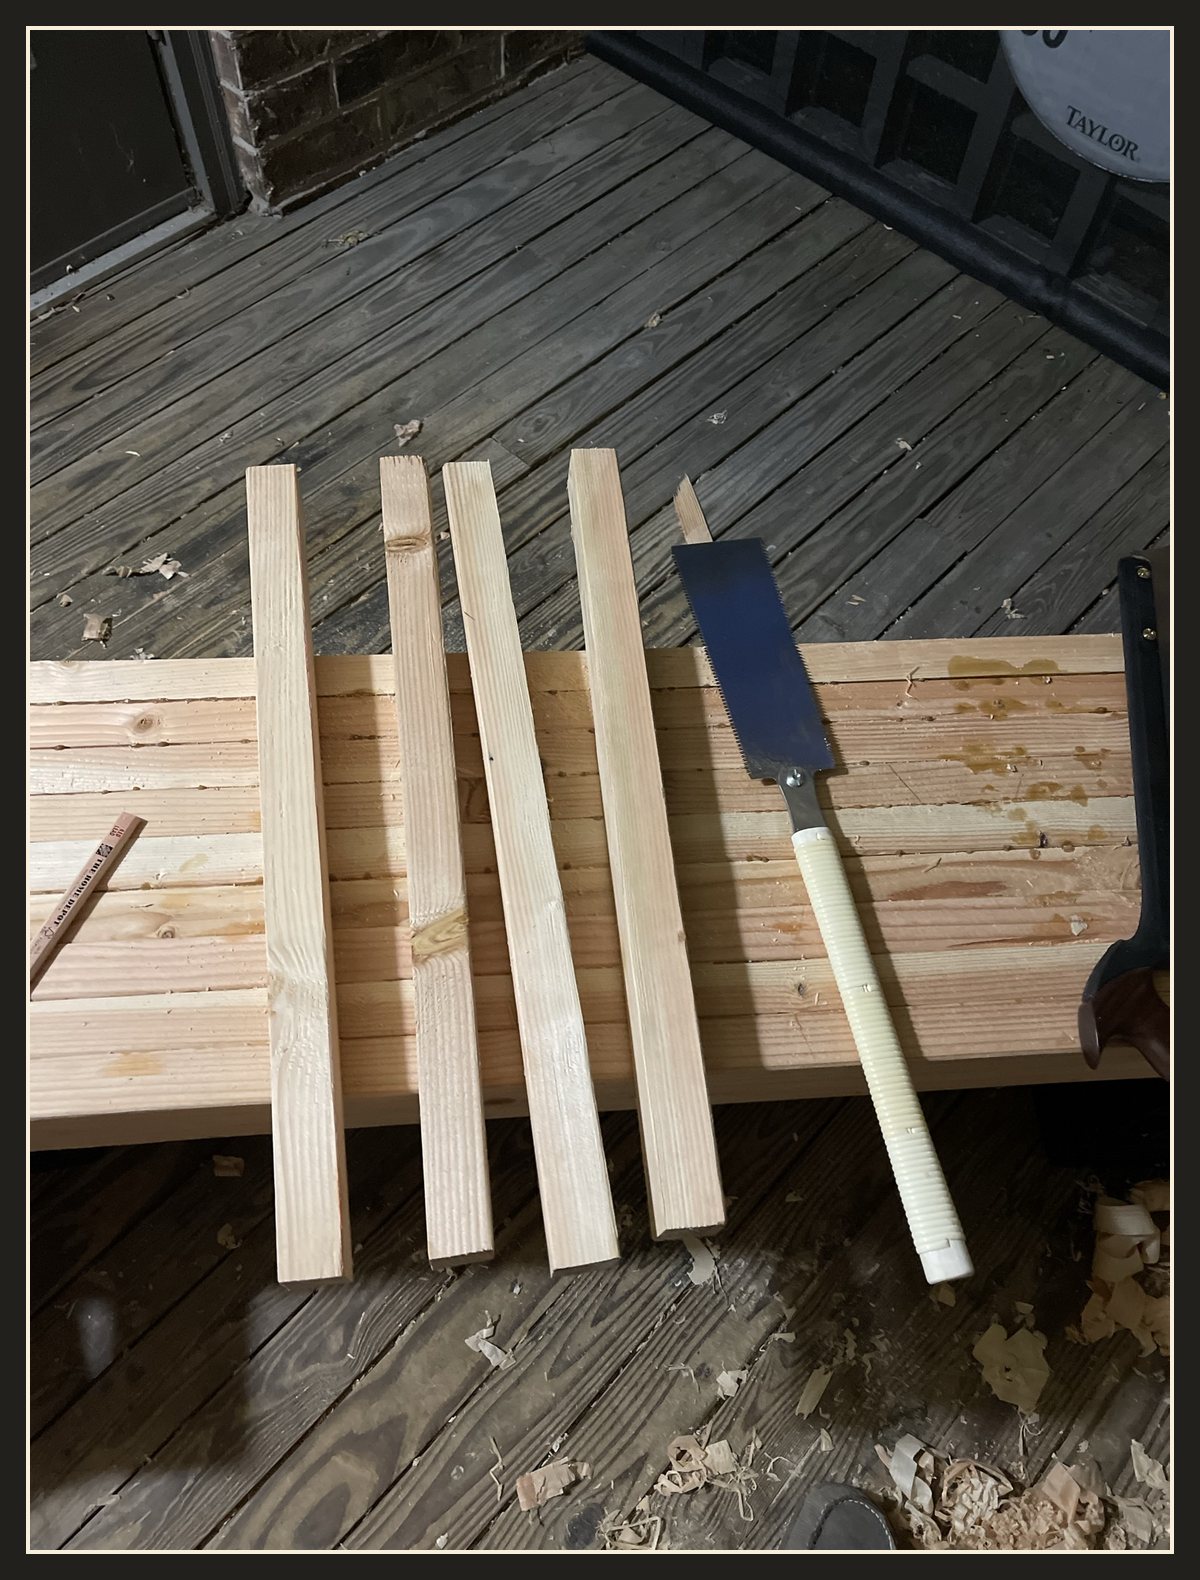
Each leg gets a round tenon on top. I worked them down until they fit a test hole drilled in a scrap, so I’d know they’d fit the real ones.
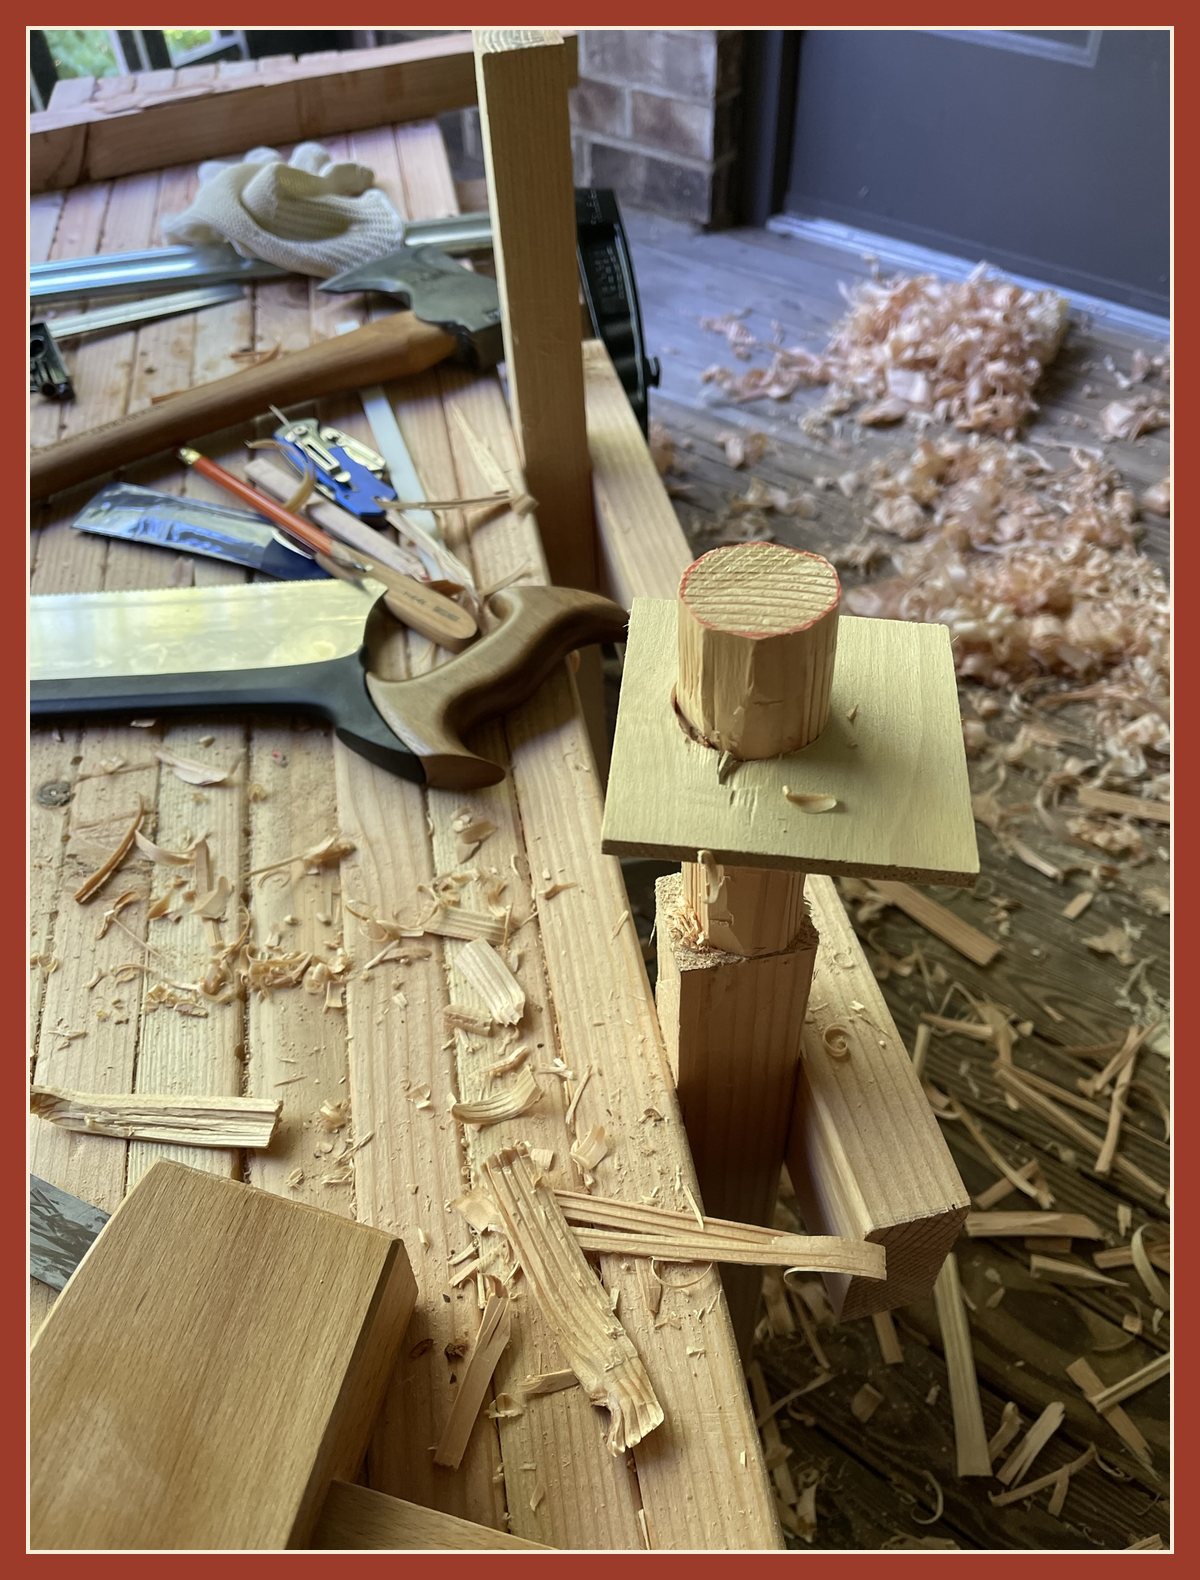
Then four holes through the top, drilled at an angle so the legs splay out.
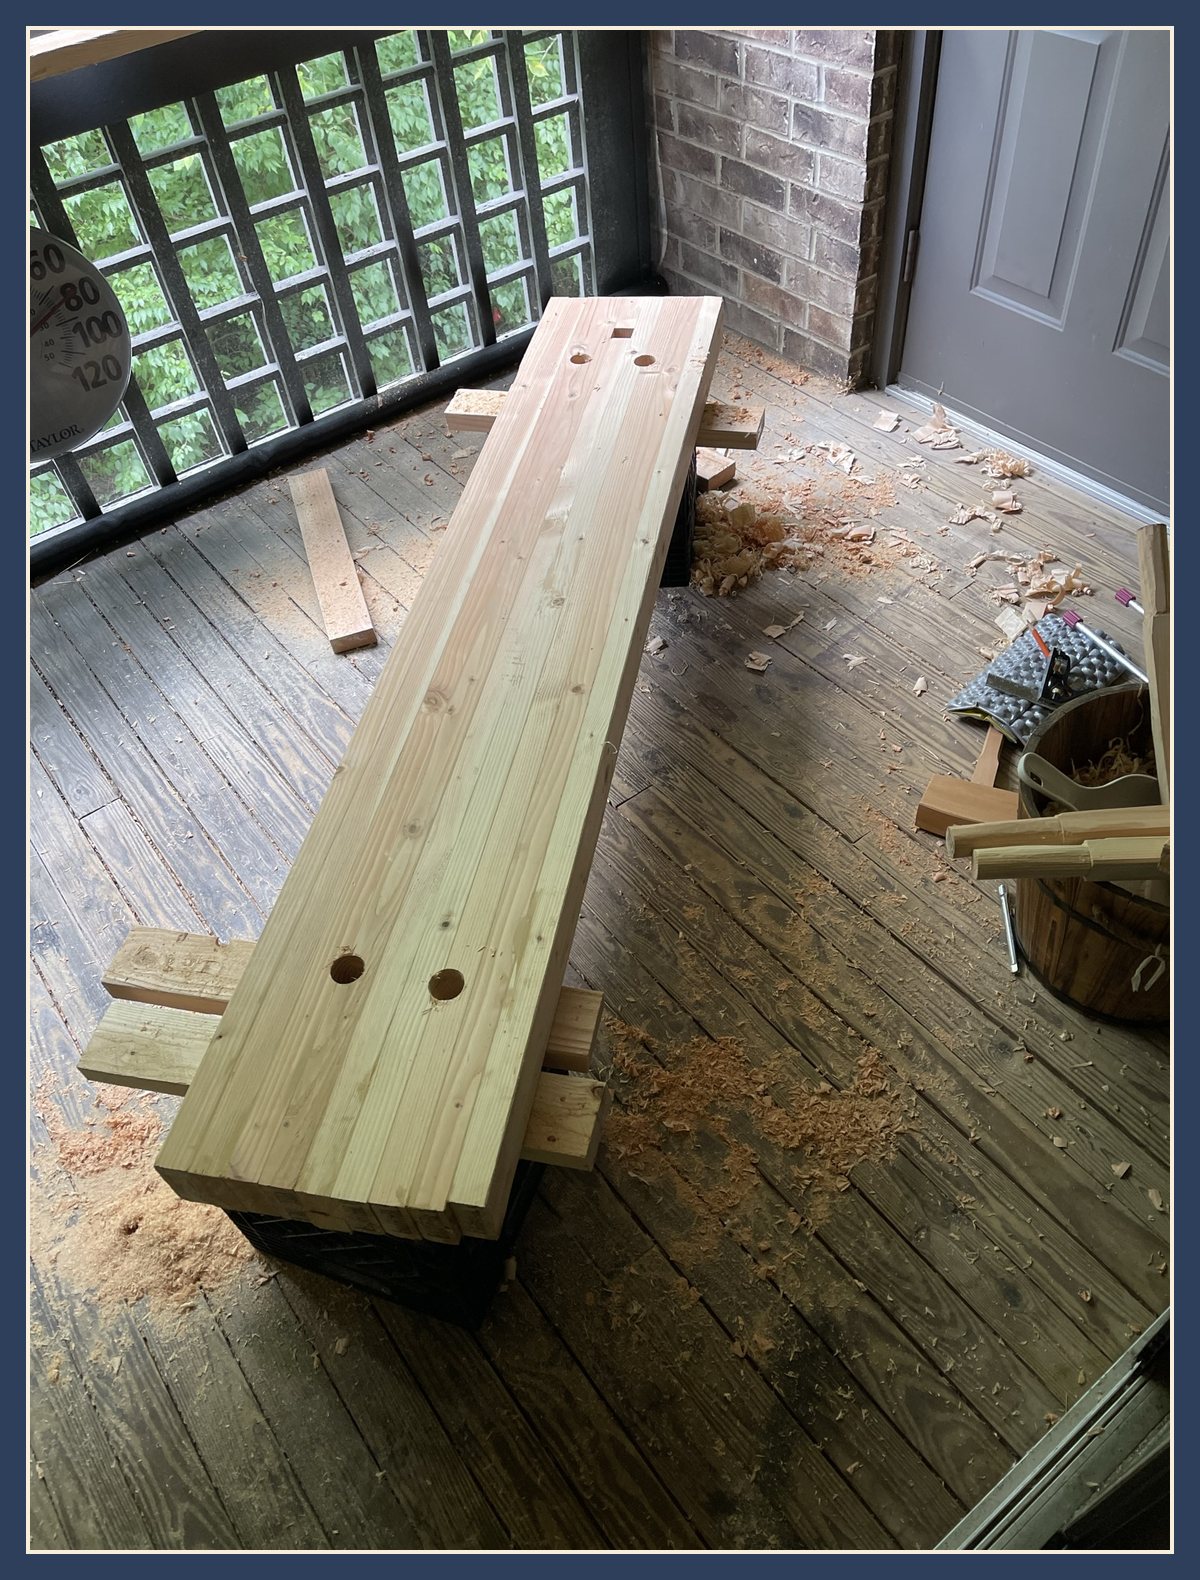
First dry fit, upside down on a milk crate. The legs are still long here; they got cut to length after.

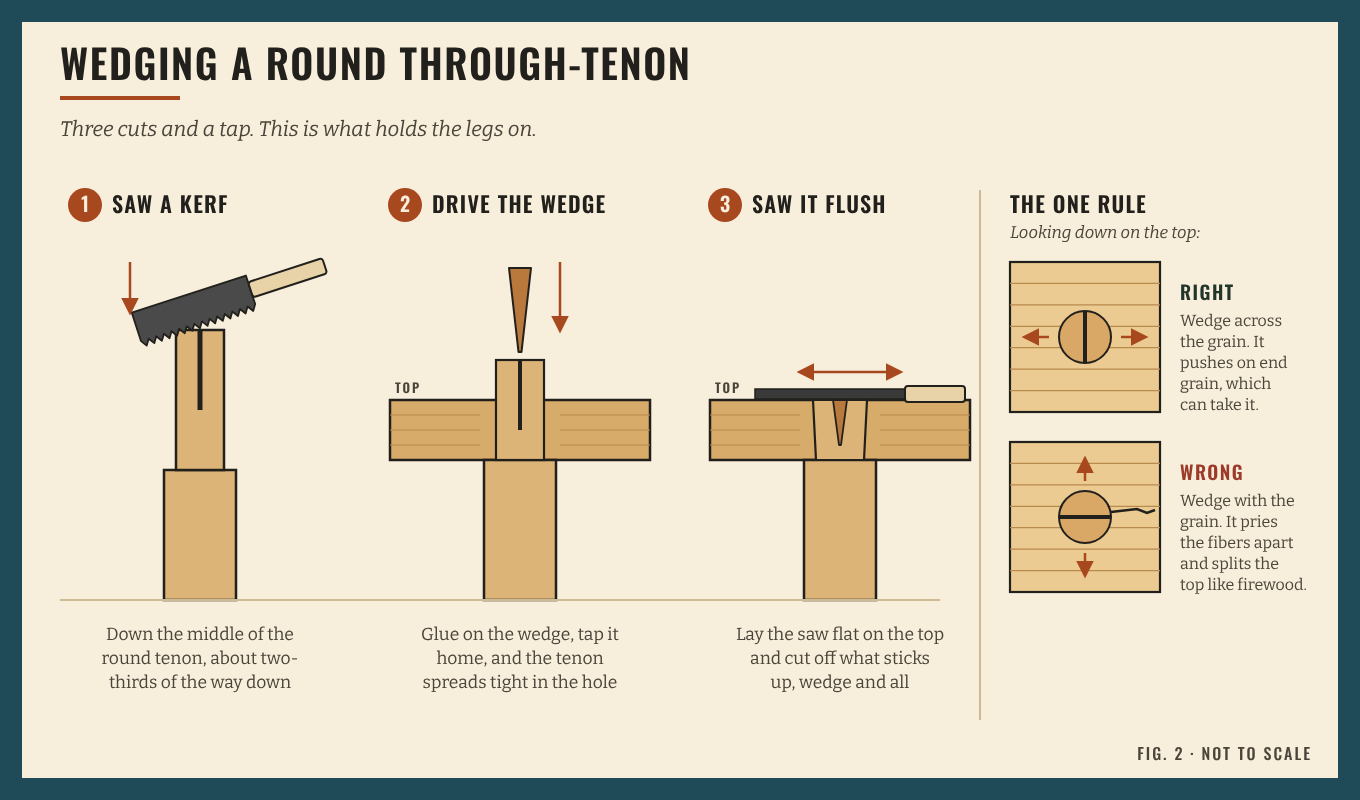
Wedging the Legs
Each tenon got a saw kerf down the middle.
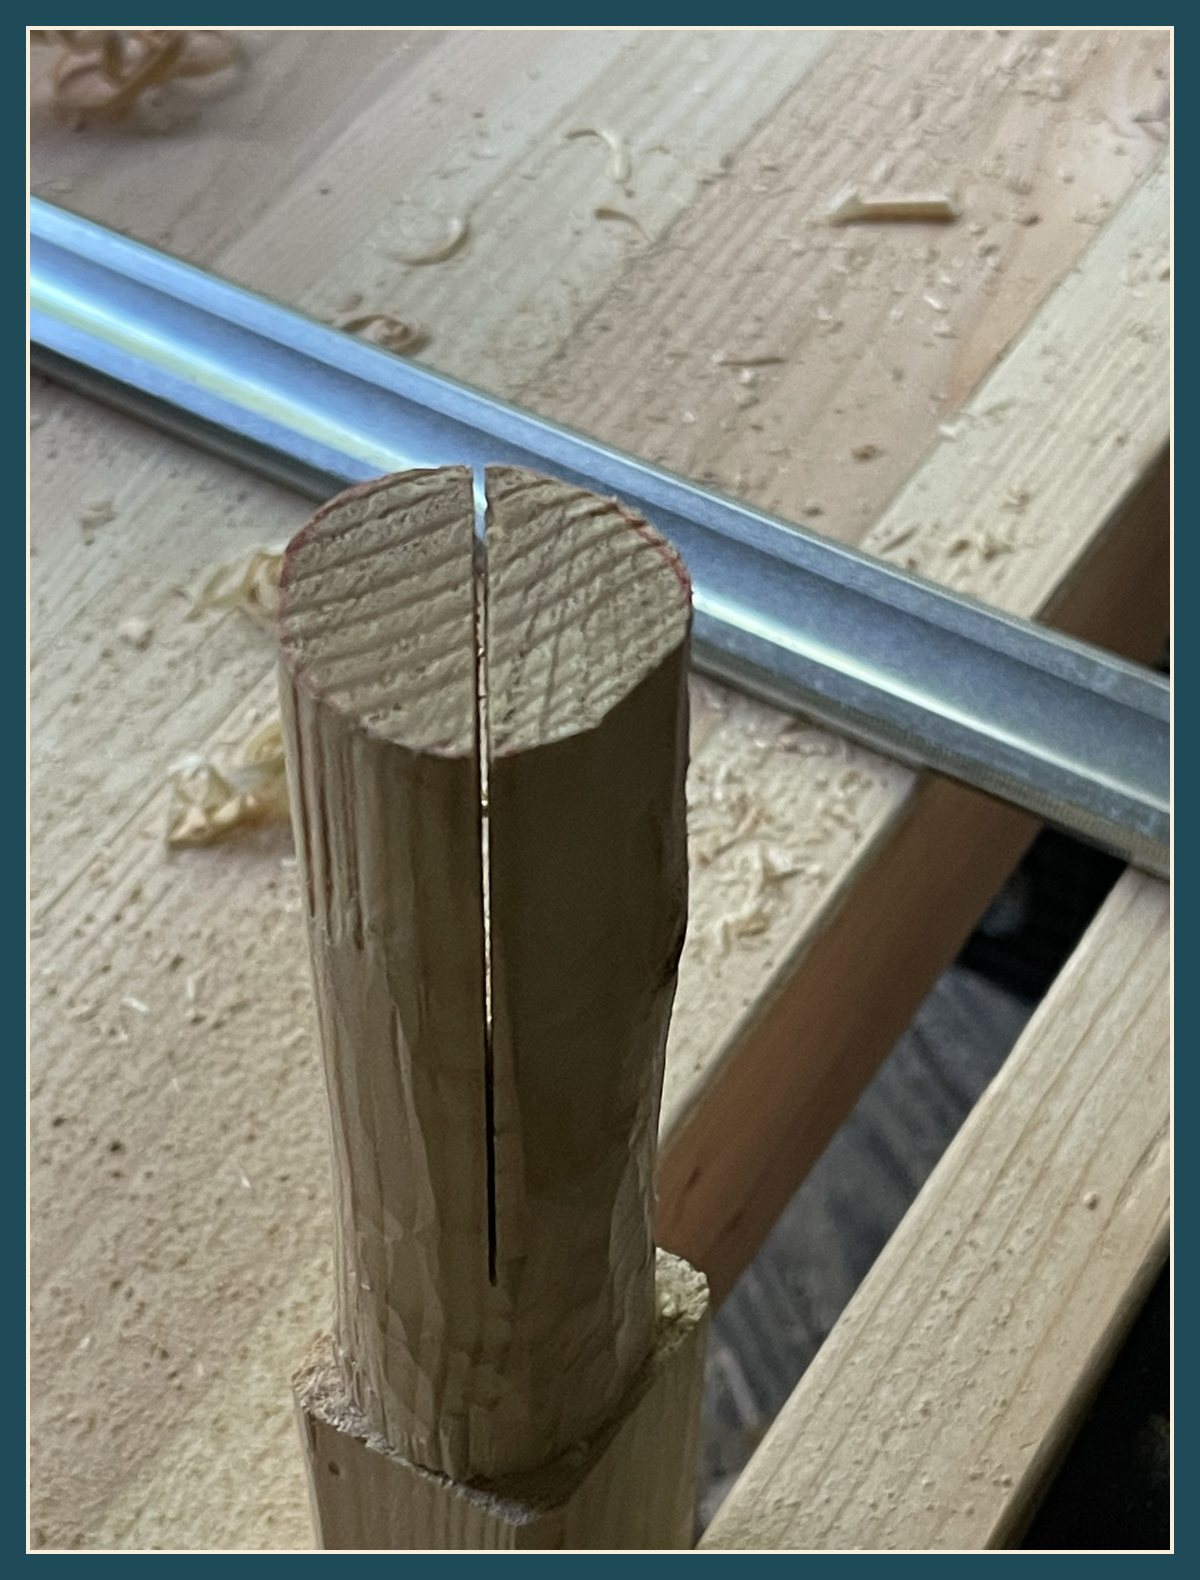
Glue on the wedge, tap it into the kerf, and it spreads the tenon tight in its hole. Then saw it all flush with the top.
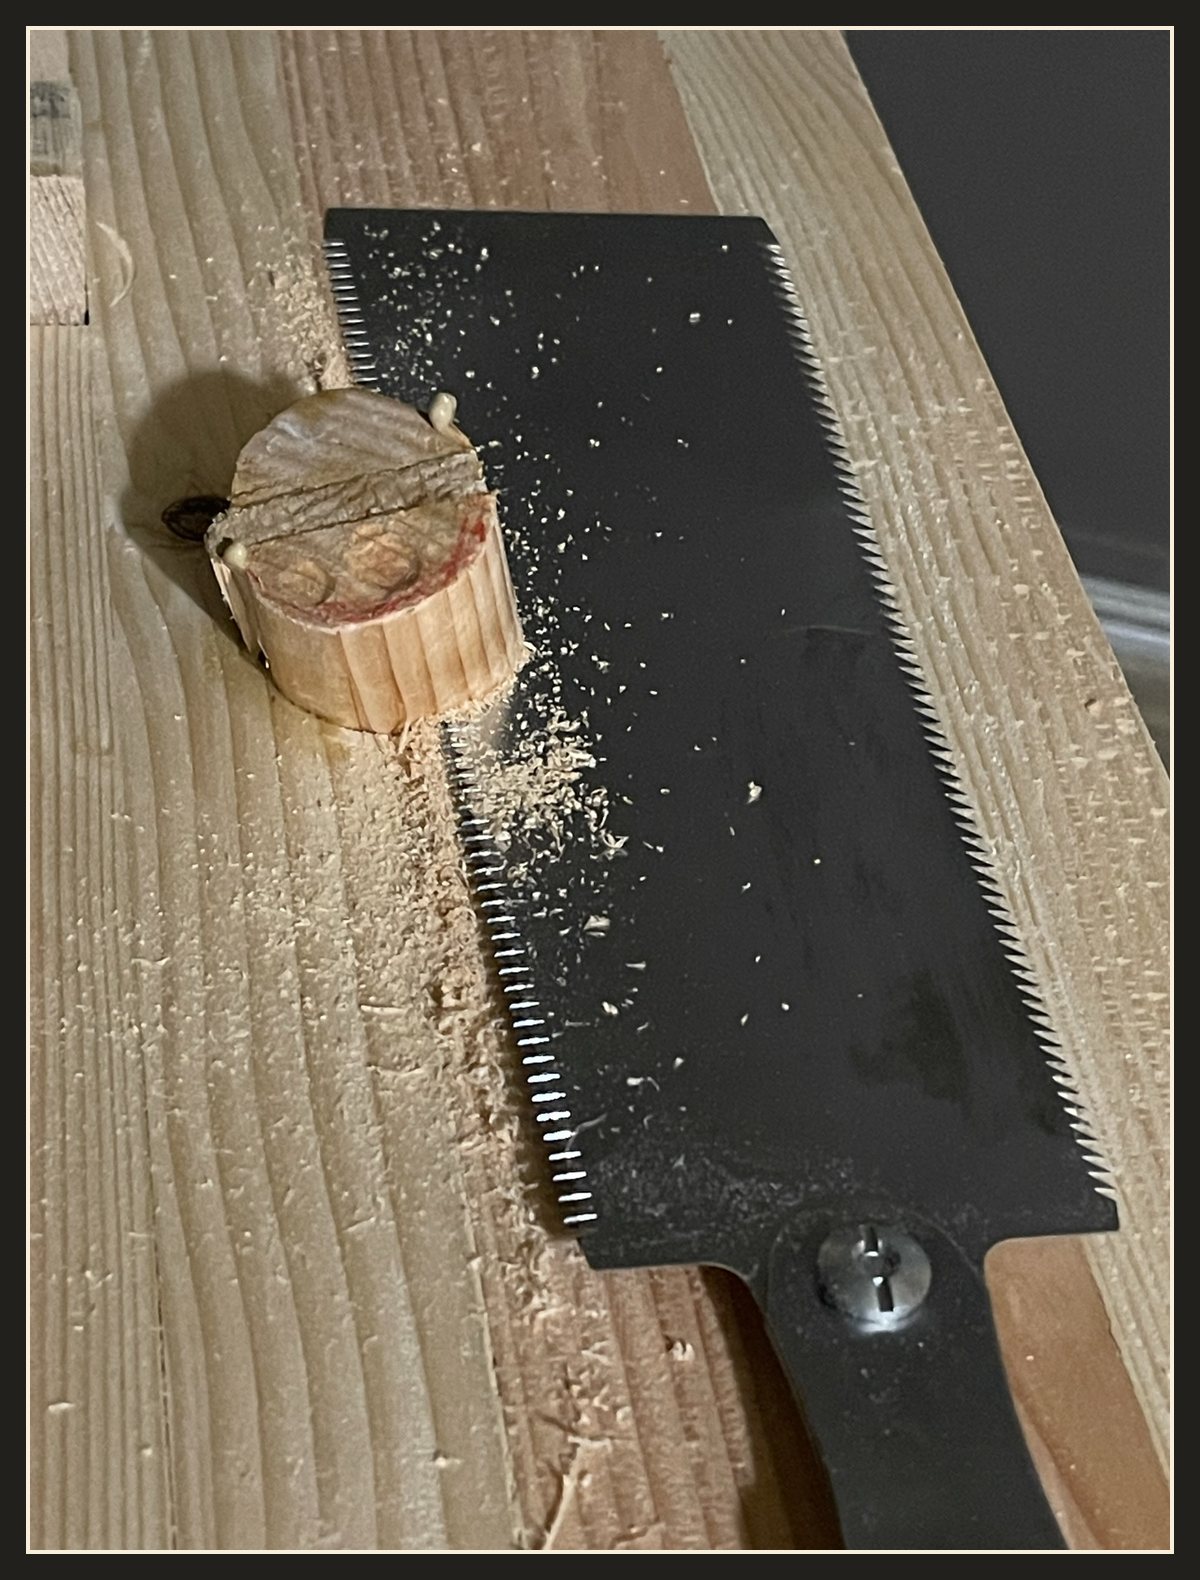
There’s one rule. The kerf runs across the grain of the top. Turn it the other way and you’ve built a log splitter.
Done
The lumber came home on July 19, 2022. The bench stood on its own four legs on July 29. The book says you can build one of these in a couple of days. My phone says ten.
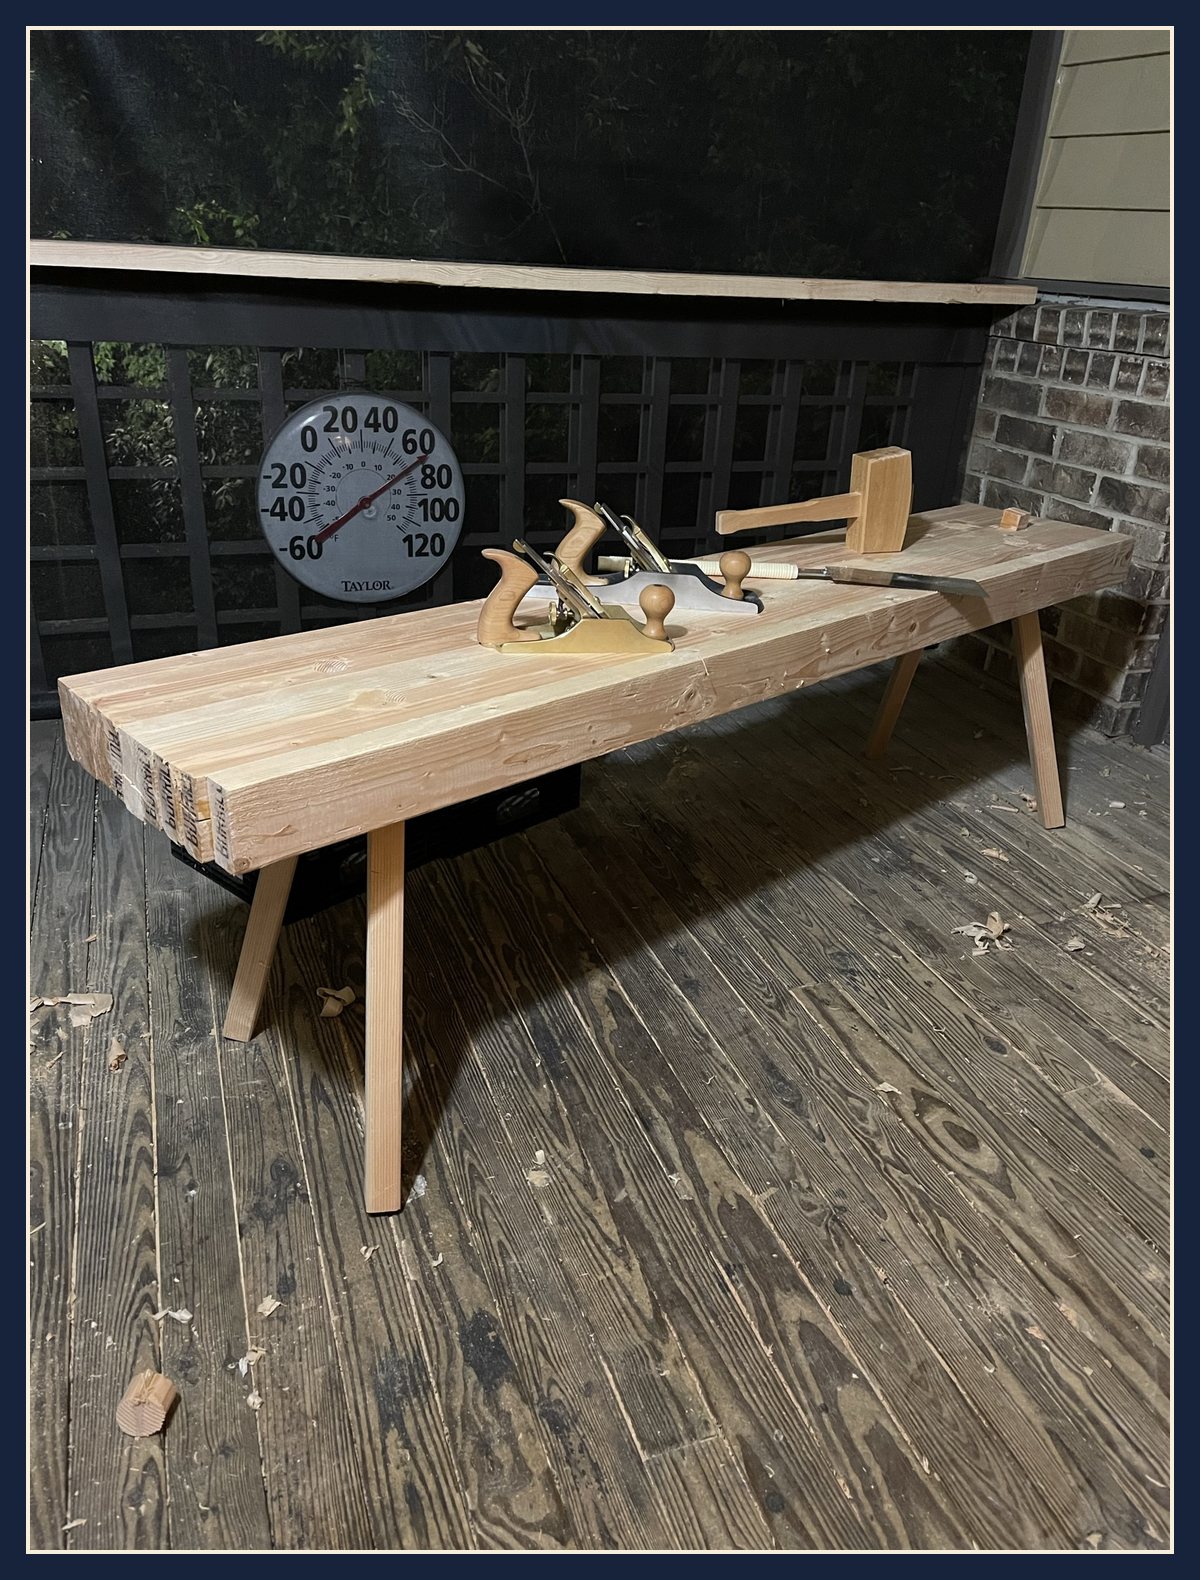
The next day, I put linseed oil on it. My dad stopped by to see how I was doing, and I was proud to show off my good work.

Here it is the next morning, oiled and in the daylight.

Breaking It In
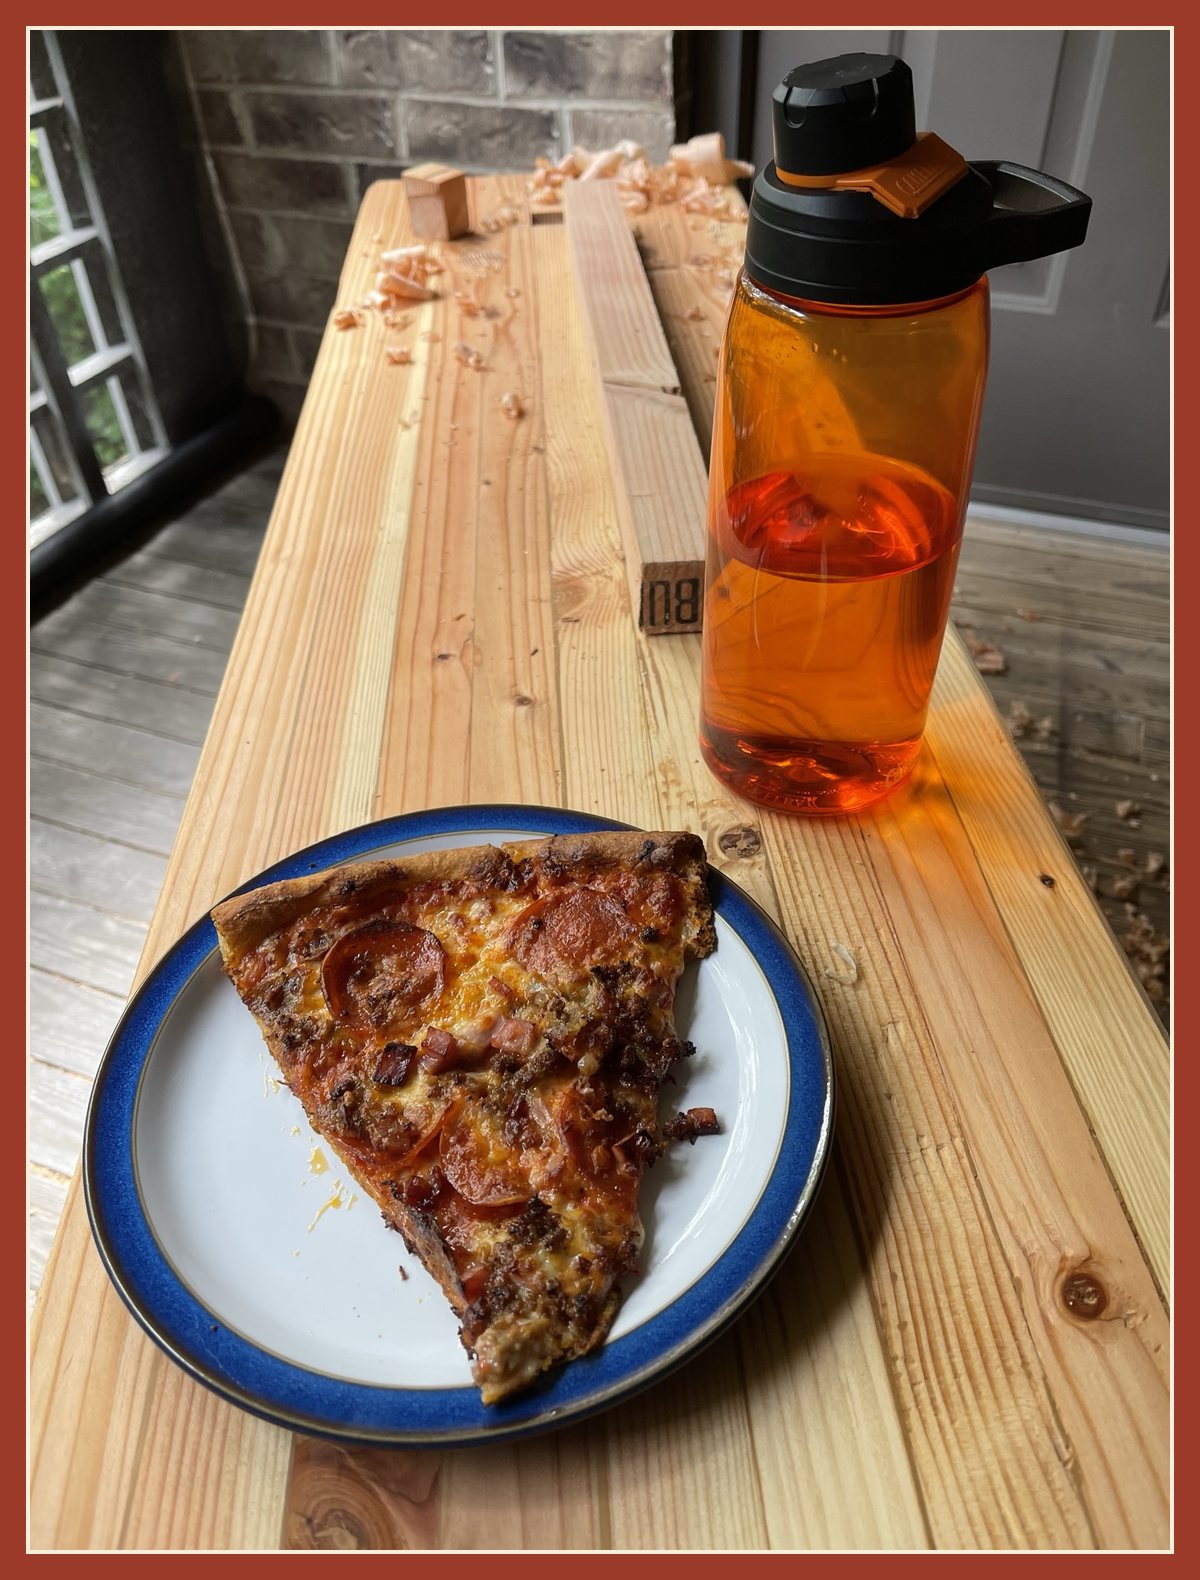
Turns out a low Roman workbench also makes a fine lunch table.
Then I started adding to it. First, a vise.
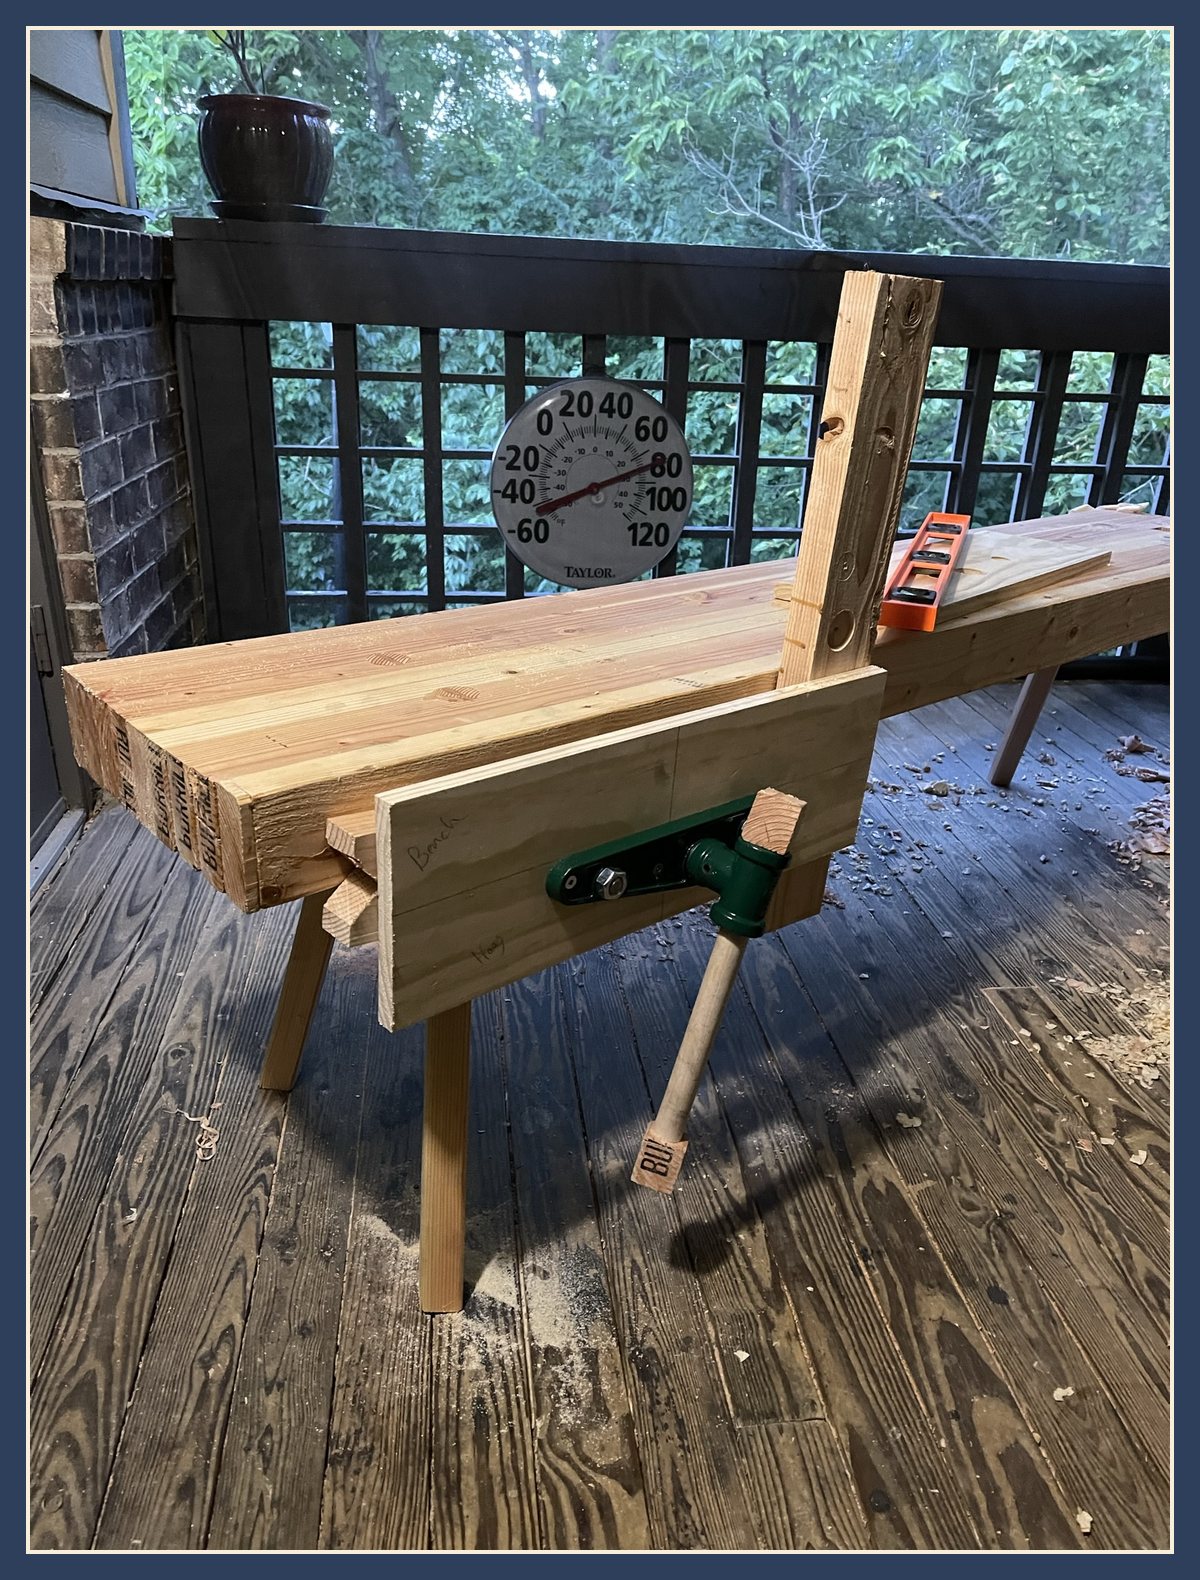
The porch got string lights, and the bench got its glamour shot.

Then a holdfast. Drop it in a hole, give it a whack with a mallet, and it pins the board to the bench. Whack it from behind and it lets go.
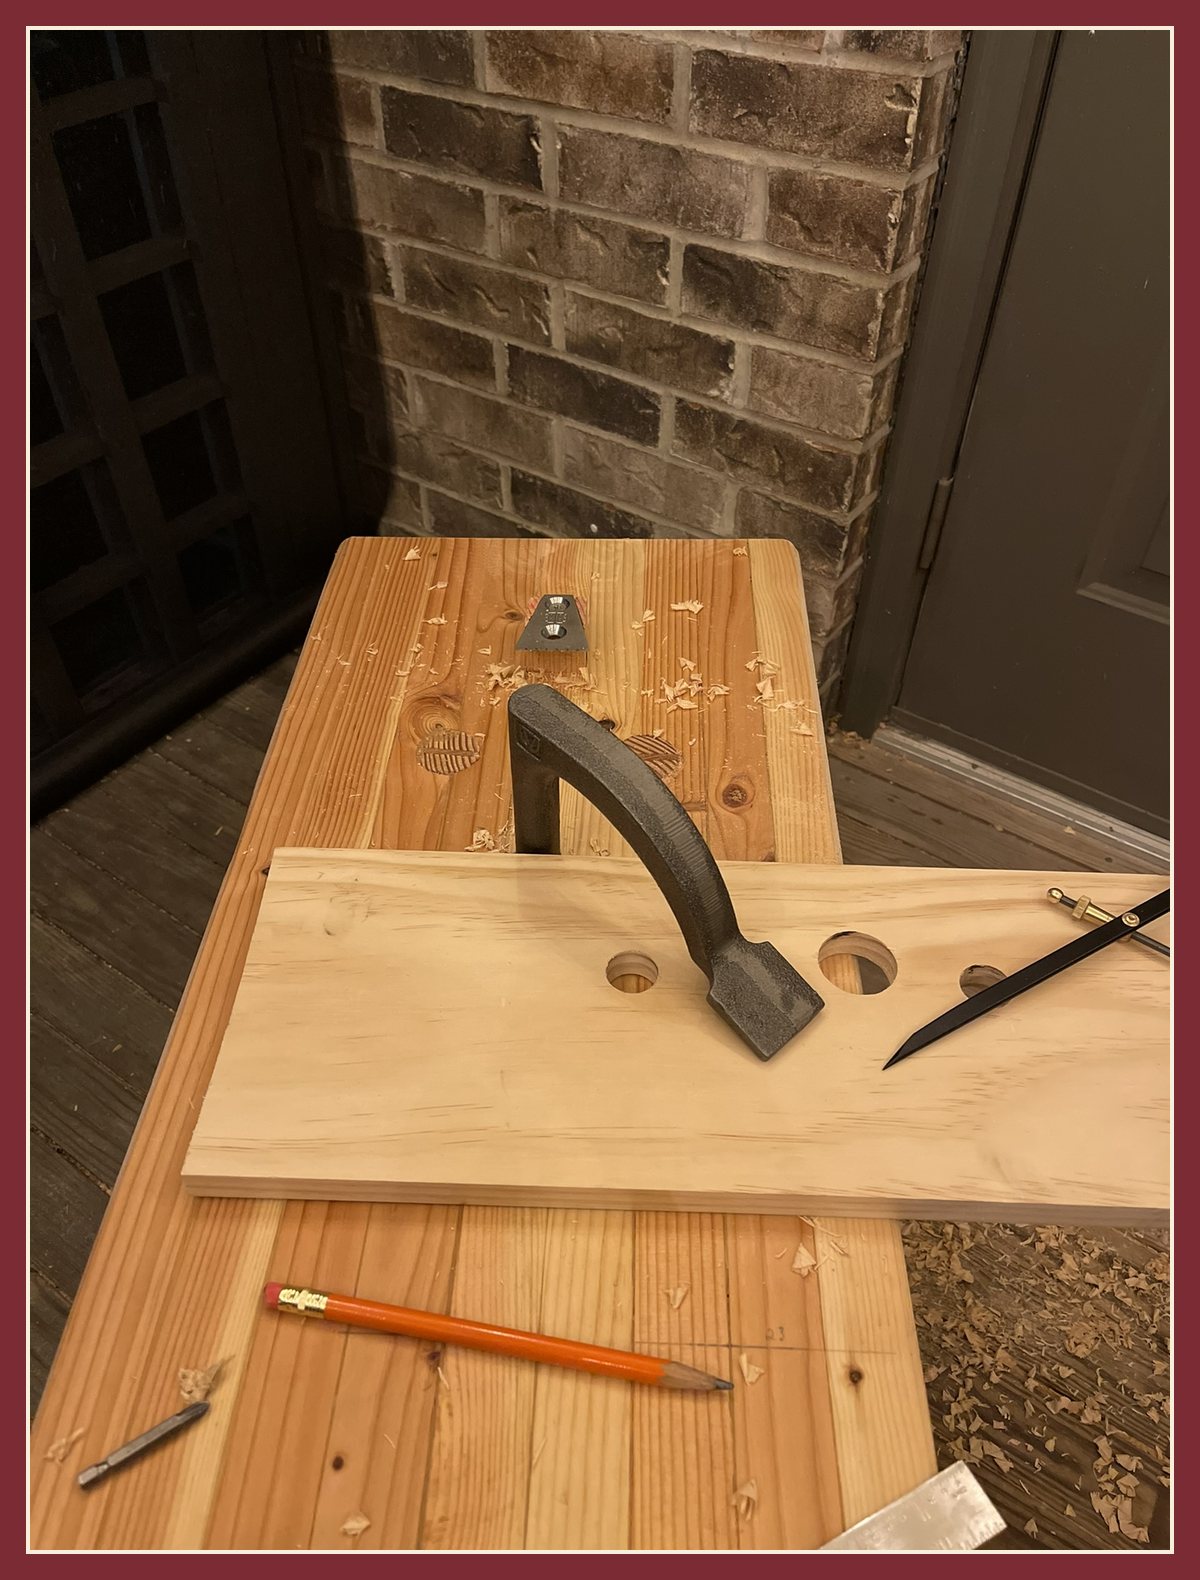
By November, it looked like this.

The Supervisor
None of this happened without supervision. Oliver oversaw the entire project.

Where It Is Now
The bench lives on the front porch of my new house now. It’s my sittin’ bench, and I still use it once in a while when I need a low bench. The book says these benches double as seating. It’s right.
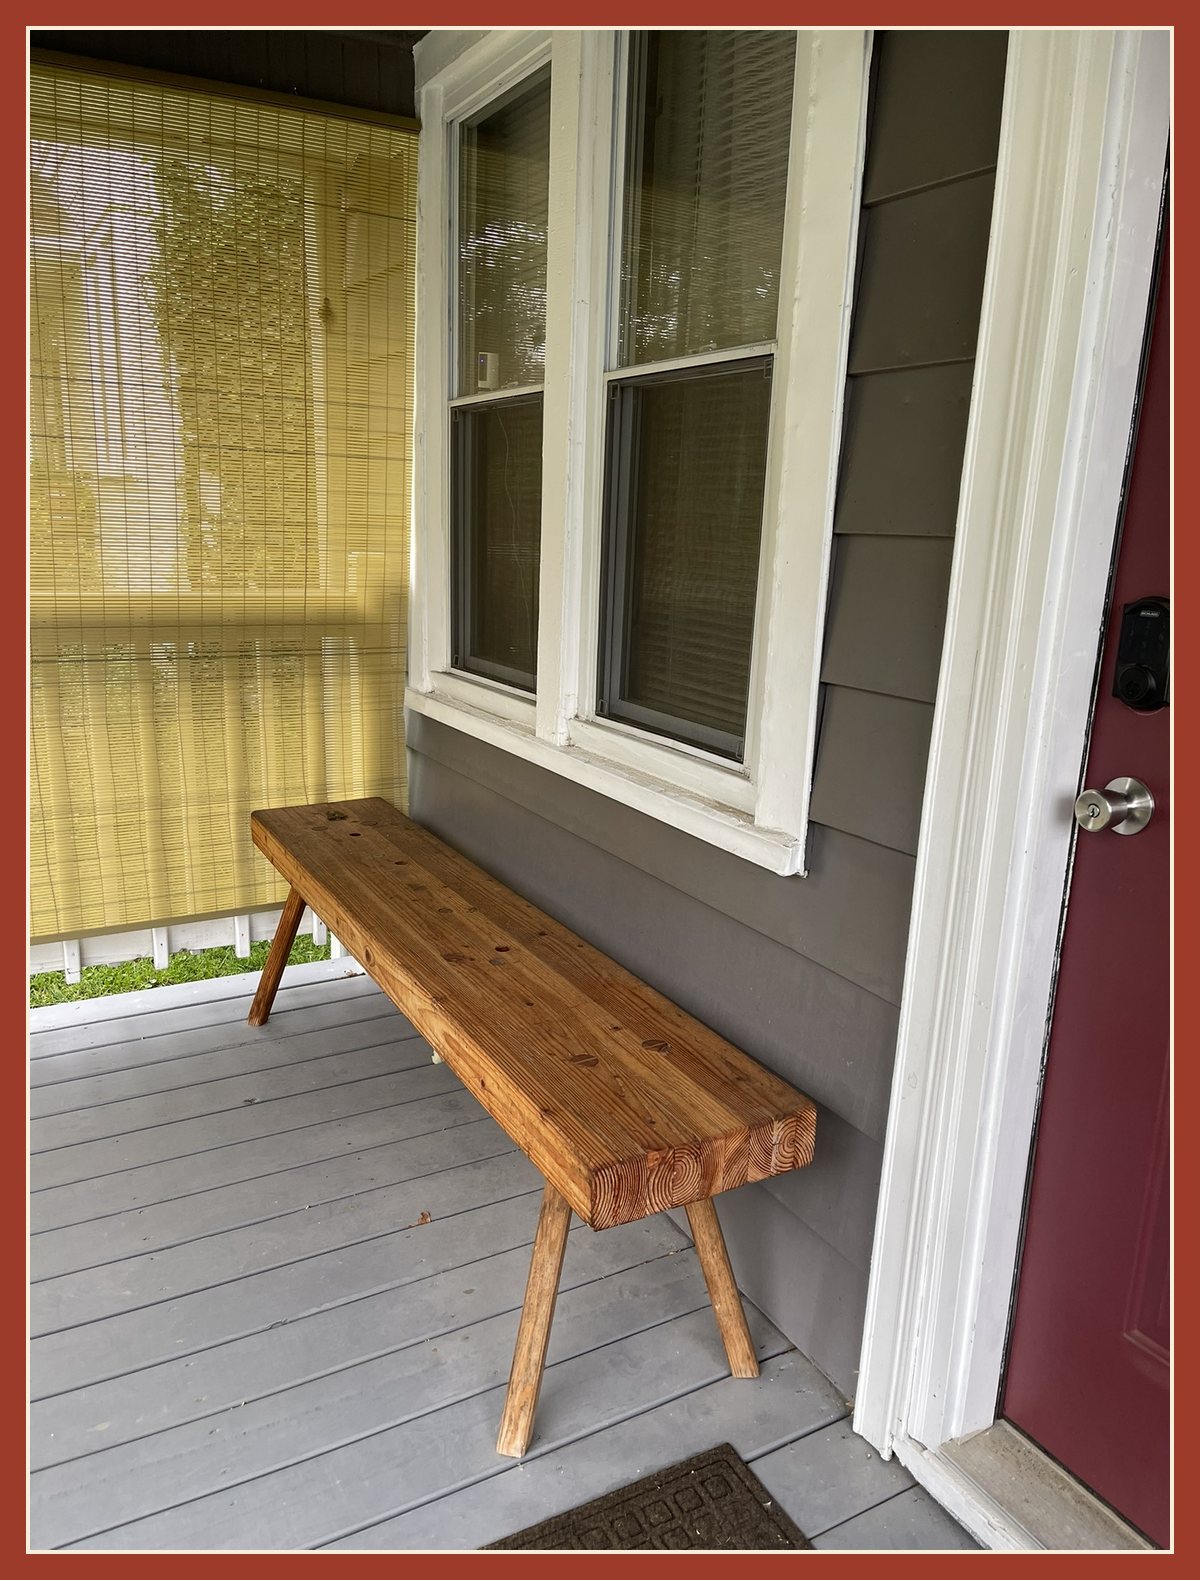
Not bad for a pile of $5.98 studs and a couple of milk crates.
Up Next
As a teaser, here’s the bench I use now. I built that one too, and that build is coming in a future post.
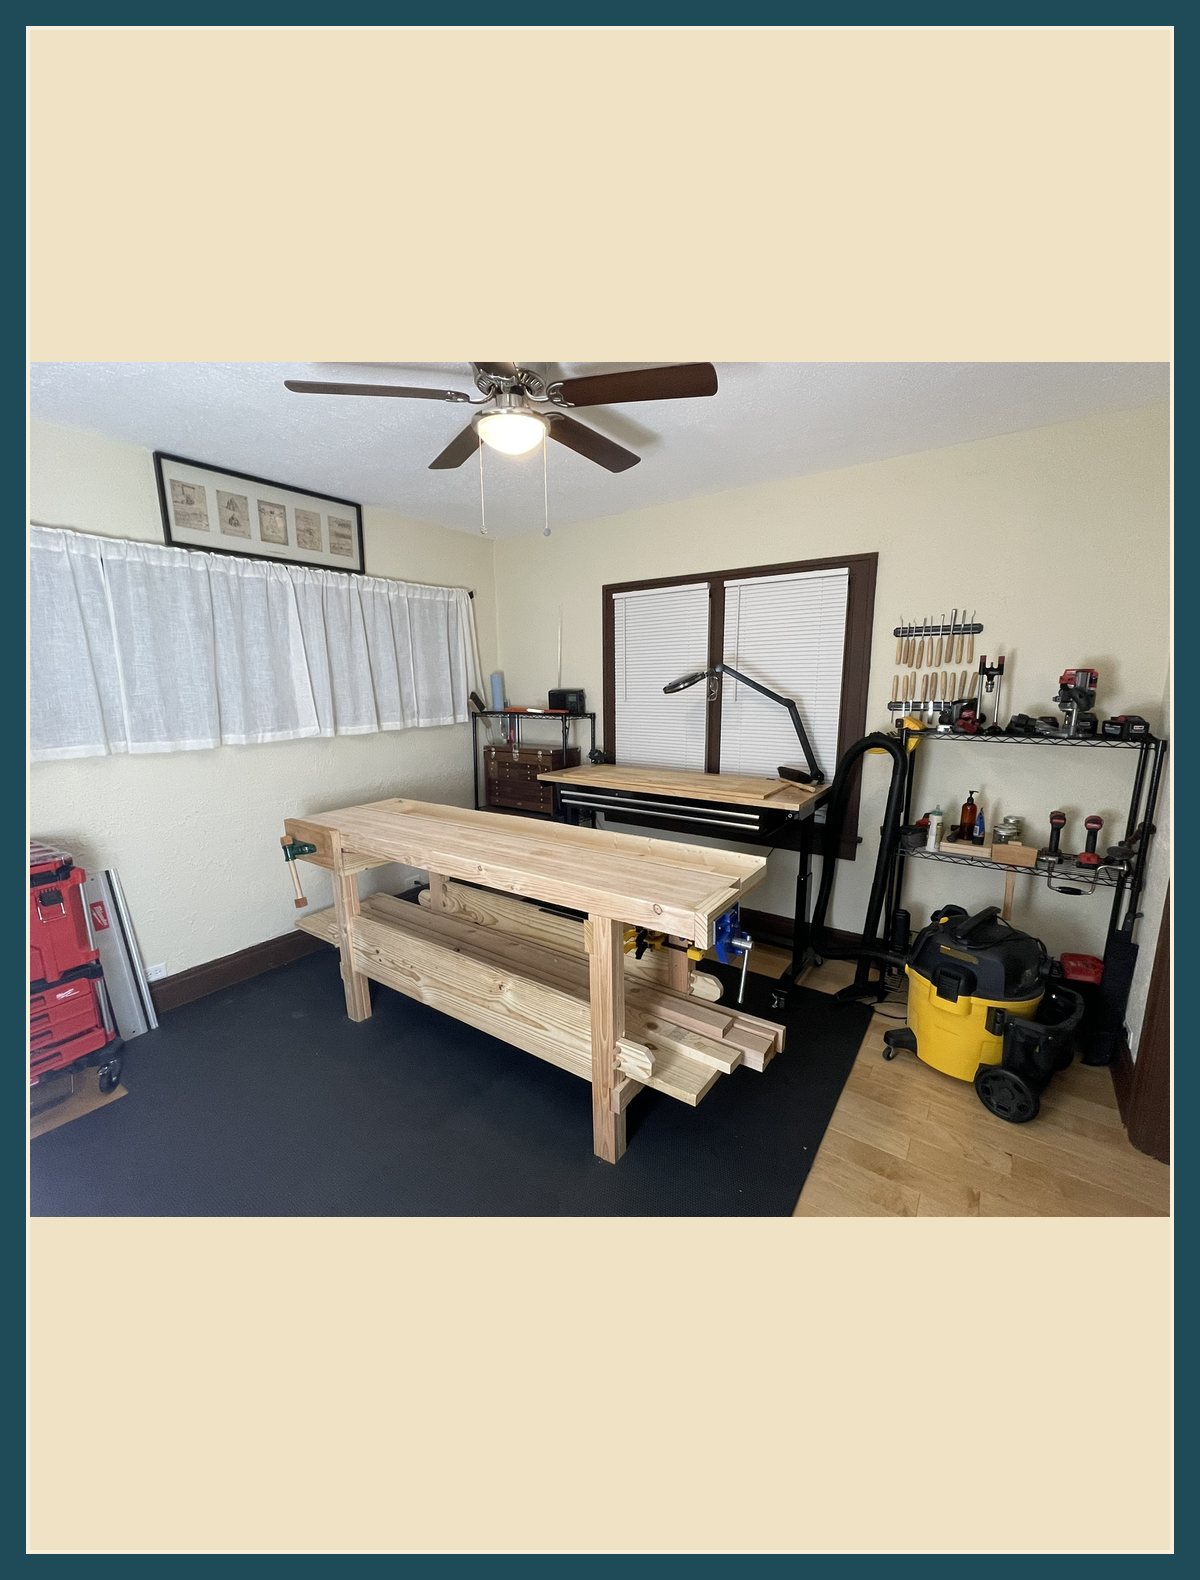
Spoiler: it’s not low.
Leave a Reply